How to write a tool plugin
What a plugin does
A plugin can...
- read tool outputs via stdin on
-icommand line switch (multiple files are supported) - parse them
- format them
- upload as notes, or
- create findings
Where plugins are located
reptor comes with a number of plugins.
However, you can override any plugin by copying it to the .sysreptor/plugins folder in your home directory.
You can do this by running reptor plugins --copy <module name> --full
If you copy the entire plugin, it overrides the builtin plugins from reptor.
If you want to override templates only, use reptor plugins --copy <module name>. So you can customize the templates used for formatting the data, while preserving the official functionality of the plugin.
Create a new plugin
Let's say we want to build a plugin for a fictional XSS-tool.
We can start off using our plugin boilerplate by running reptor plugins --new XssTool.
This will add the file structure to .sysreptor/plugins/XssTool.
This directory is already dynamically included by reptor. When you run reptor --help, you should see xsstool under the section Tools.
You can also call the help message of your plugin by reptor xsstool --help.
Implement a parser
Our XssTool has two output options:
- Plaintext
- JSON
Our plugin already implements some parsing methods and the corresponding arguments:
parse_json(--json)parse_xml(--xml)parse_csv(--csv)
As we do not need xml and csv parsing, we can remove the methods. This will also make them disappear in the help message.
The parse_json method will be called if the CLI switch --json is provided.
However, we are missing an option to parse plaintext outputs.
An example plaintext output would be:
1 2 | |
Our parsing method should split the lines and store the result into a list:
1 2 | |
This function must also be called. We can override the parent's parse method for this.
Calling the parent method makes sure that json parsing is executed.
1 2 3 4 | |
We still need to add a commandline option for plaintext parsing. This can be done in the add_arguments method.
In the course of this, let's delete the --foo and --bar commandline options of the boilerplate. We don't need them. (Make sure to leave the super().add_arguments() call.)
Input formats are mutually exclusive. We want our plaintext parsing switch also to be mutually exclusive. Therefore, we get the mutually exclusive parsing group and add a --plaintext switch:
1 2 3 4 5 6 7 8 9 10 11 | |
The default input_format is raw. Specify the default input_format in the __init__ method:
1 2 | |
We are now done with implementing our parser. We can test it using:
1 2 | |
Formatting tool output
Now we want to bring our data into a beautiful and human-readable format. SysReptor uses markdown and allows HTML syntax there.
reptor uses the Django template language with a slightly different syntax for formatting.
The Django start tags are prepended with the HTML comment start tag and become:
{{becomes<!--{{{%becomes<!--{%{#becomes<!--{#
An HTML comment end tag is appended to the Django end tags:
}}becomes}}-->%}becomes%}-->#}becomes#}-->
(Find the reason for this later in this tutorial.)
Let's bring the list of our XSS outputs into the format of a markdown table.
We find an empty template at templates/mytemplate.md. We rename it to xss-table.md and place the following template inside:
1
2
3
4
5
| |
However, we have never defined the data variable.
This was automatically done in the preprocess_for_template method:
1 2 | |
This method is like a second parsing step for preparing the parsed data for usage in a template. You can add entries to the dictionary for easier template processing.
We can now try to format our output:
1 2 3 4 5 6 7 | |
This gives us bad newlines within the table because the Django template engine leaves the newlines from the for loop there.
We can resolve this by using the noemptylines tag:
1 2 3 4 5 6 7 | |
Uploading to notes
If you haven't done this yet, you can now add the configuration of your SysReptor installation.
Create an API token at https://yourinstallation.local/users/self/apitokens/ and run reptor conf to add all necessary information.
Let's upload our formatted data to the project notes:
1 2 | |
If you experience any problems during upload, check if the user has permission for the project ID from your configuration. Use the --debug switch for further troubleshooting.
Your formatted output is now uploaded to your project notes:
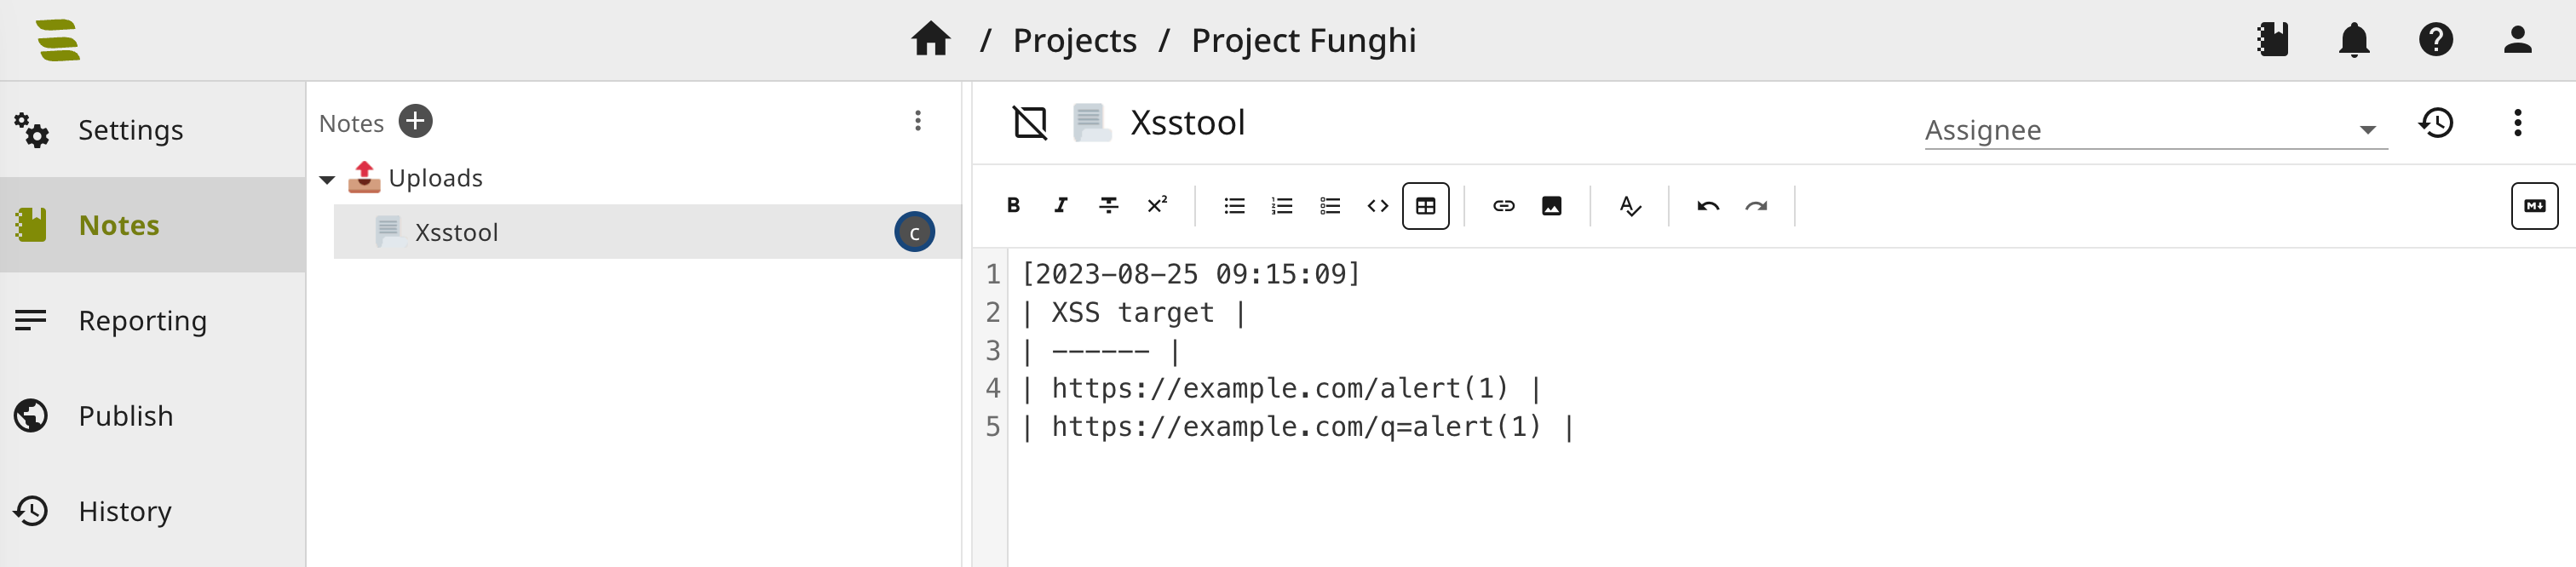
Use --notetitle "My Notename" for a different title and --private-note to add it to your private notes.
You can also update the default note title and replace your note icon in the __init__ method:
1 2 | |
More complex note structures
We can also create more complex note structures, like one note per target:
Therefore, we implement the create_notes method. In the first step, we group the data by URL, which should result in the following JSON structure:
1 2 3 4 5 6 7 8 | |
We can do this by implementing:
1 2 | |
We then use the NoteTemplate model for creating our note stucture. Import the model using:
1 | |
Our main parent note is a note called xsstool. It is created by:
1 2 3 4 | |
We then iterate through our URLs, create one note per URL and append it as a child of our parent note. Finally, we return the parent note.
1 2 3 4 5 6 7 8 | |
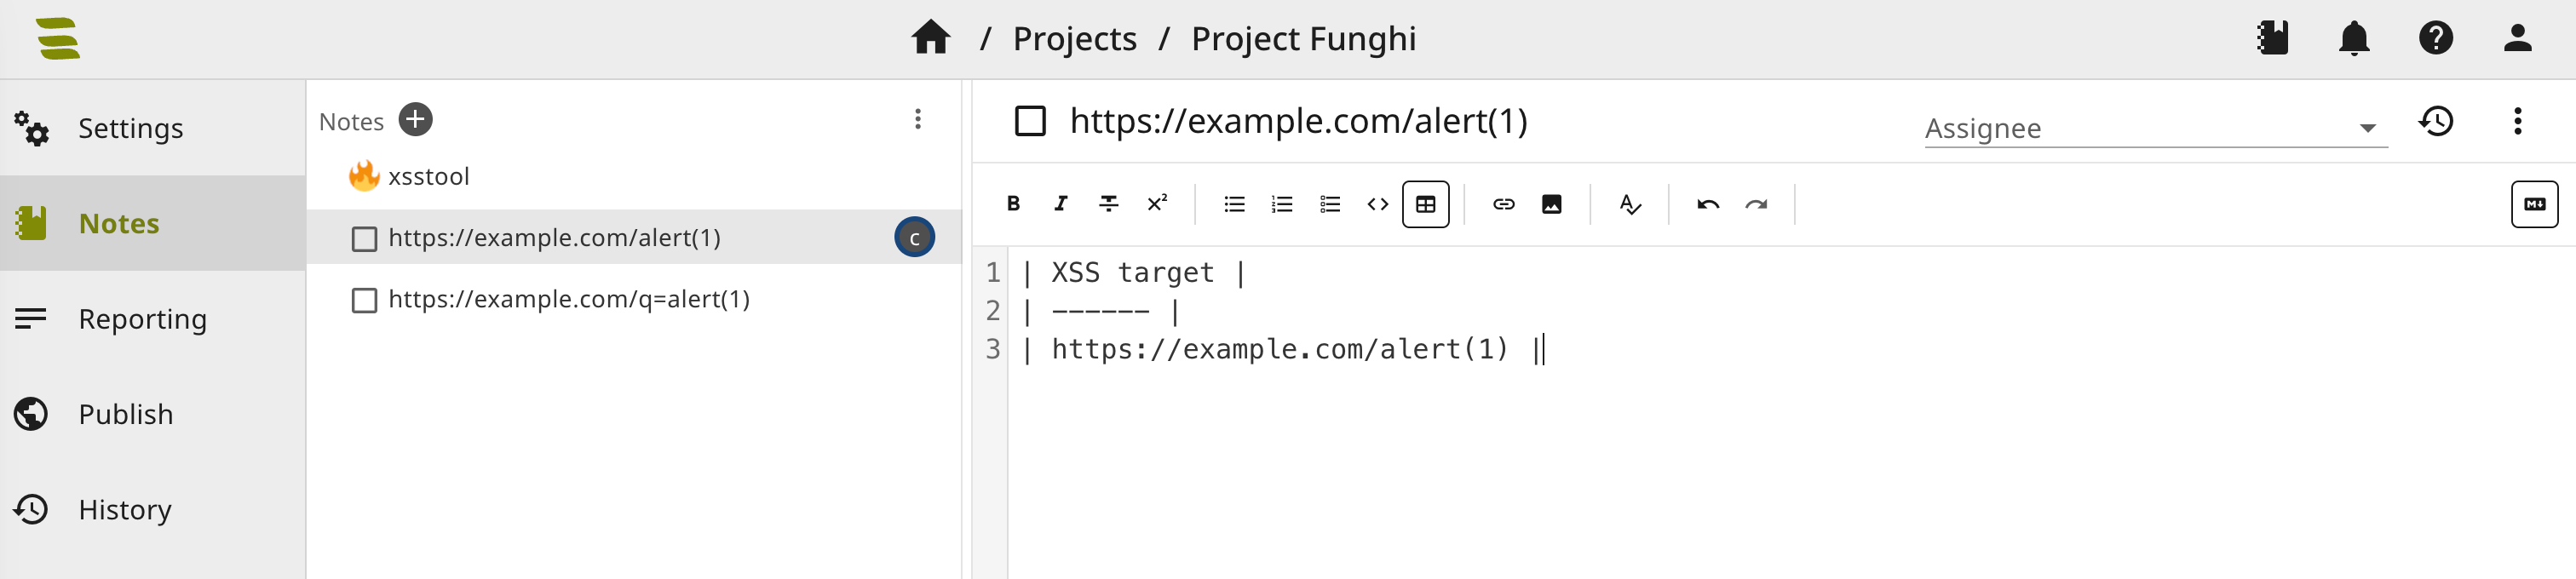
We can now upload one note per target as seen in the screenshot above:
1 2 | |
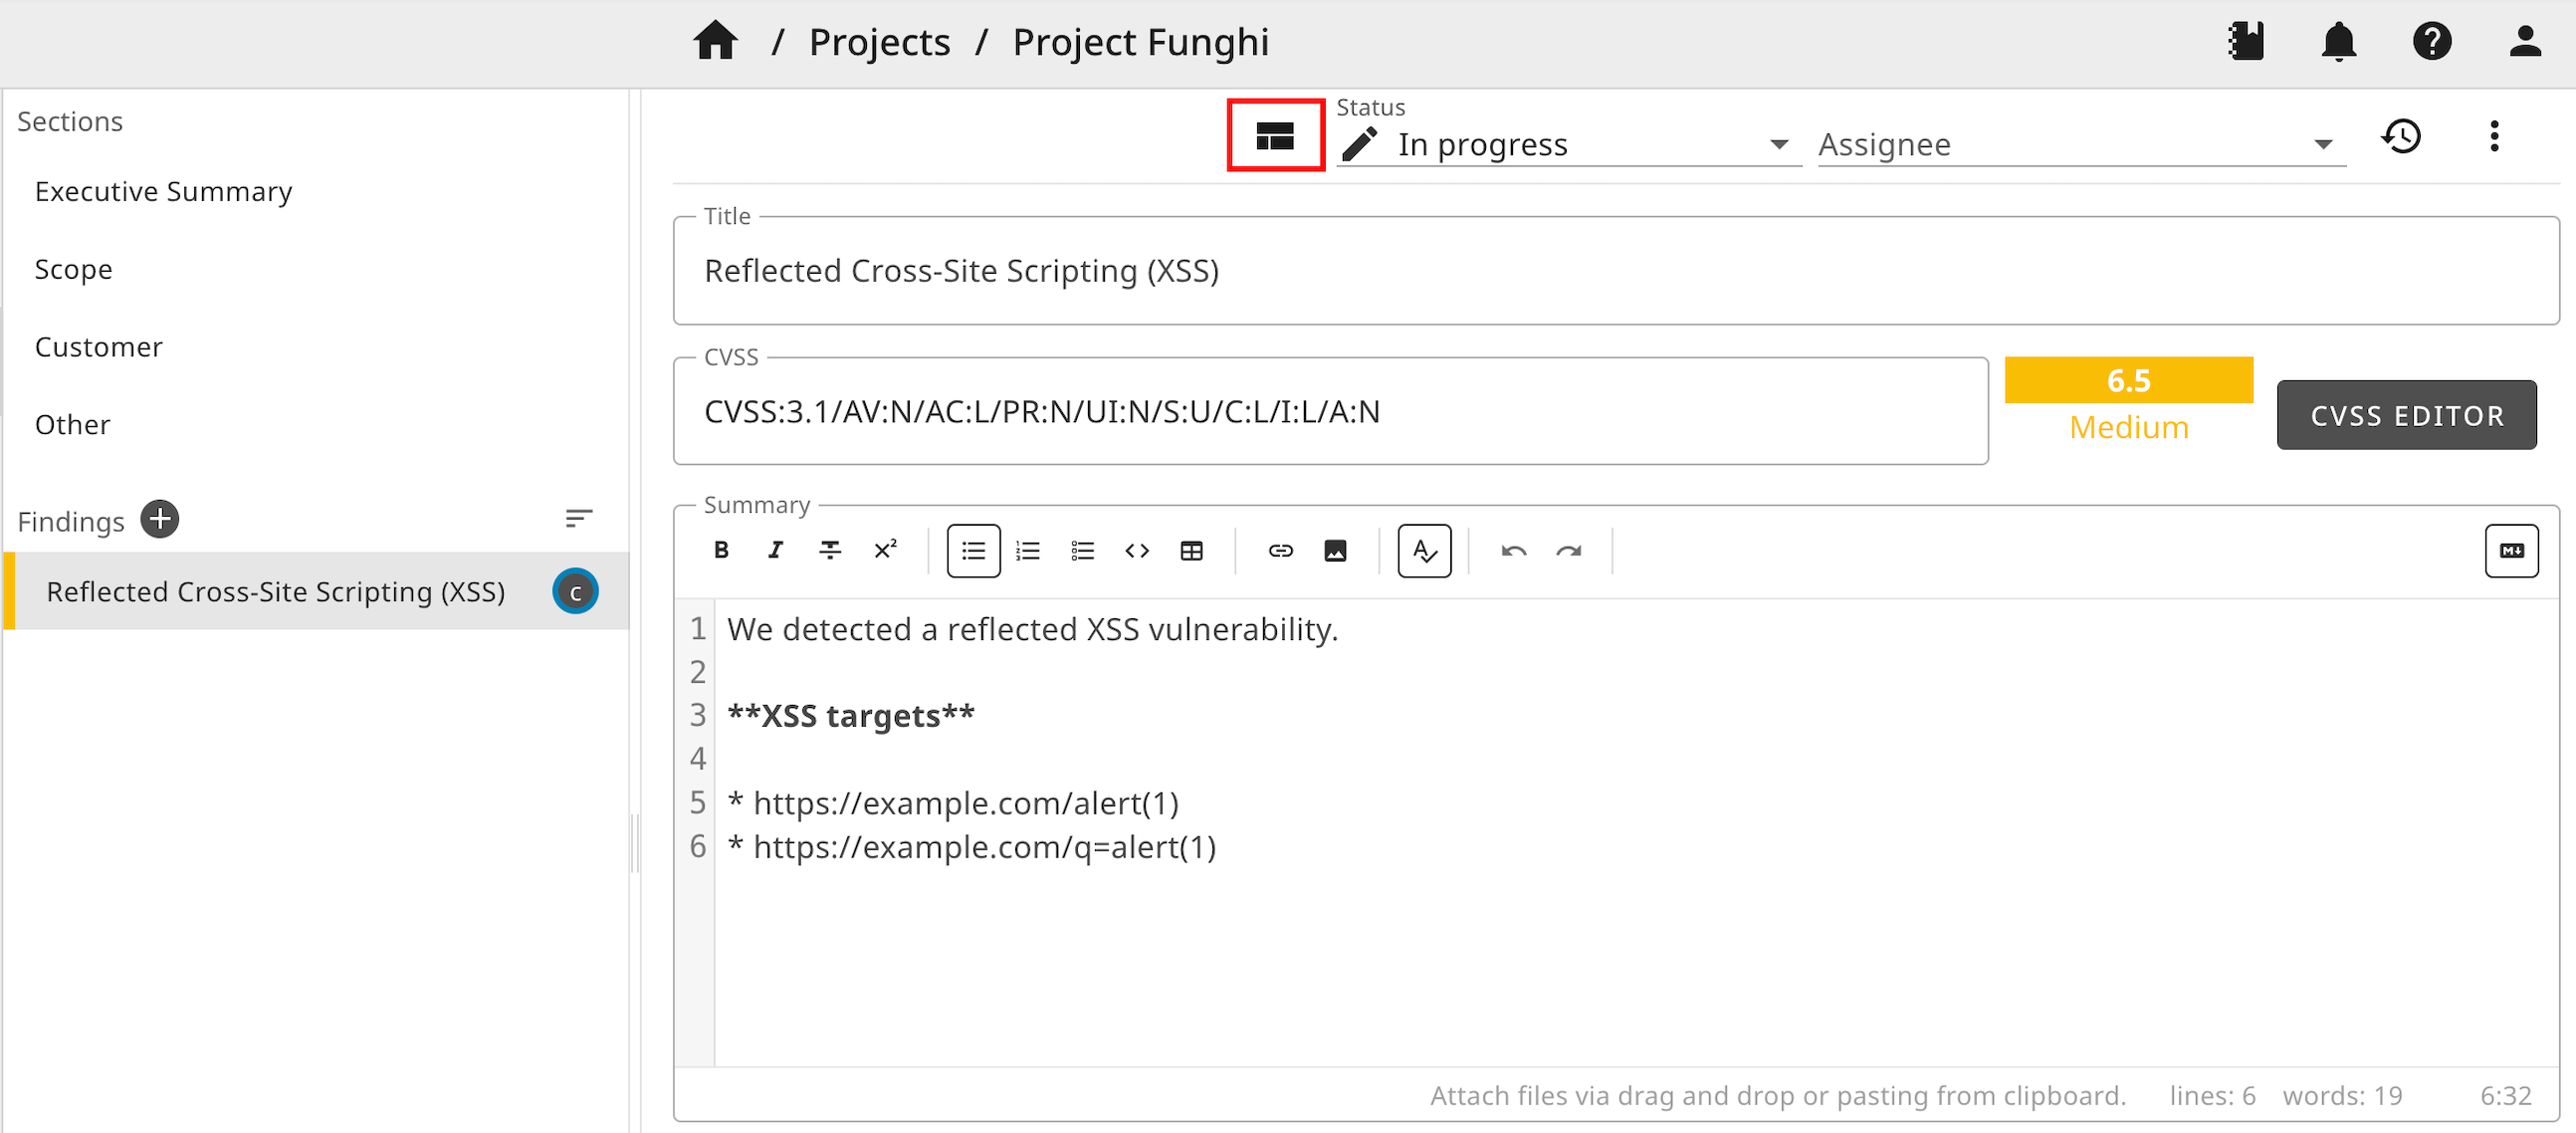
Create findings
Creating notes is nice but... We want to automate our report.
The first thing we need to define is a name for your finding and a condition when the finding should be triggered.
We call our finding xss. This means, we need to implement a method called finding_xss. This method should return data that can be used by Django templates. It many cases, the data might equal the return value of preprocess_for_template. The method should return None if no issue should be triggered.
In our case, we want to trigger an issue if the list in parsed input is not empty. Let's implement this method:
1 2 3 4 | |
As soon as you have defined a finding_* method, you should have an option in your plugin's help message: --push-findings.
Now we have to define, what the contents of the findings should be. Find a sample finding in the findings directory.
Rename this file to xss.toml to match it our vulnerability name.
The findings definitions are in TOML format. Adapt the contents of the file, as needed, e. g.:
1 2 3 4 5 6 7 8 9 10 11 12 13 14 | |
You can use the adapted Django template language in the fields in the TOML structure. Note that you can now include templates that we defined earlier as xss-table.md.
We can use our new switch --push-findings and create a new finding in our SysReptor report:
1 2 | |
It was pushed to the SysReptor server and can be found in the project from the configuration:
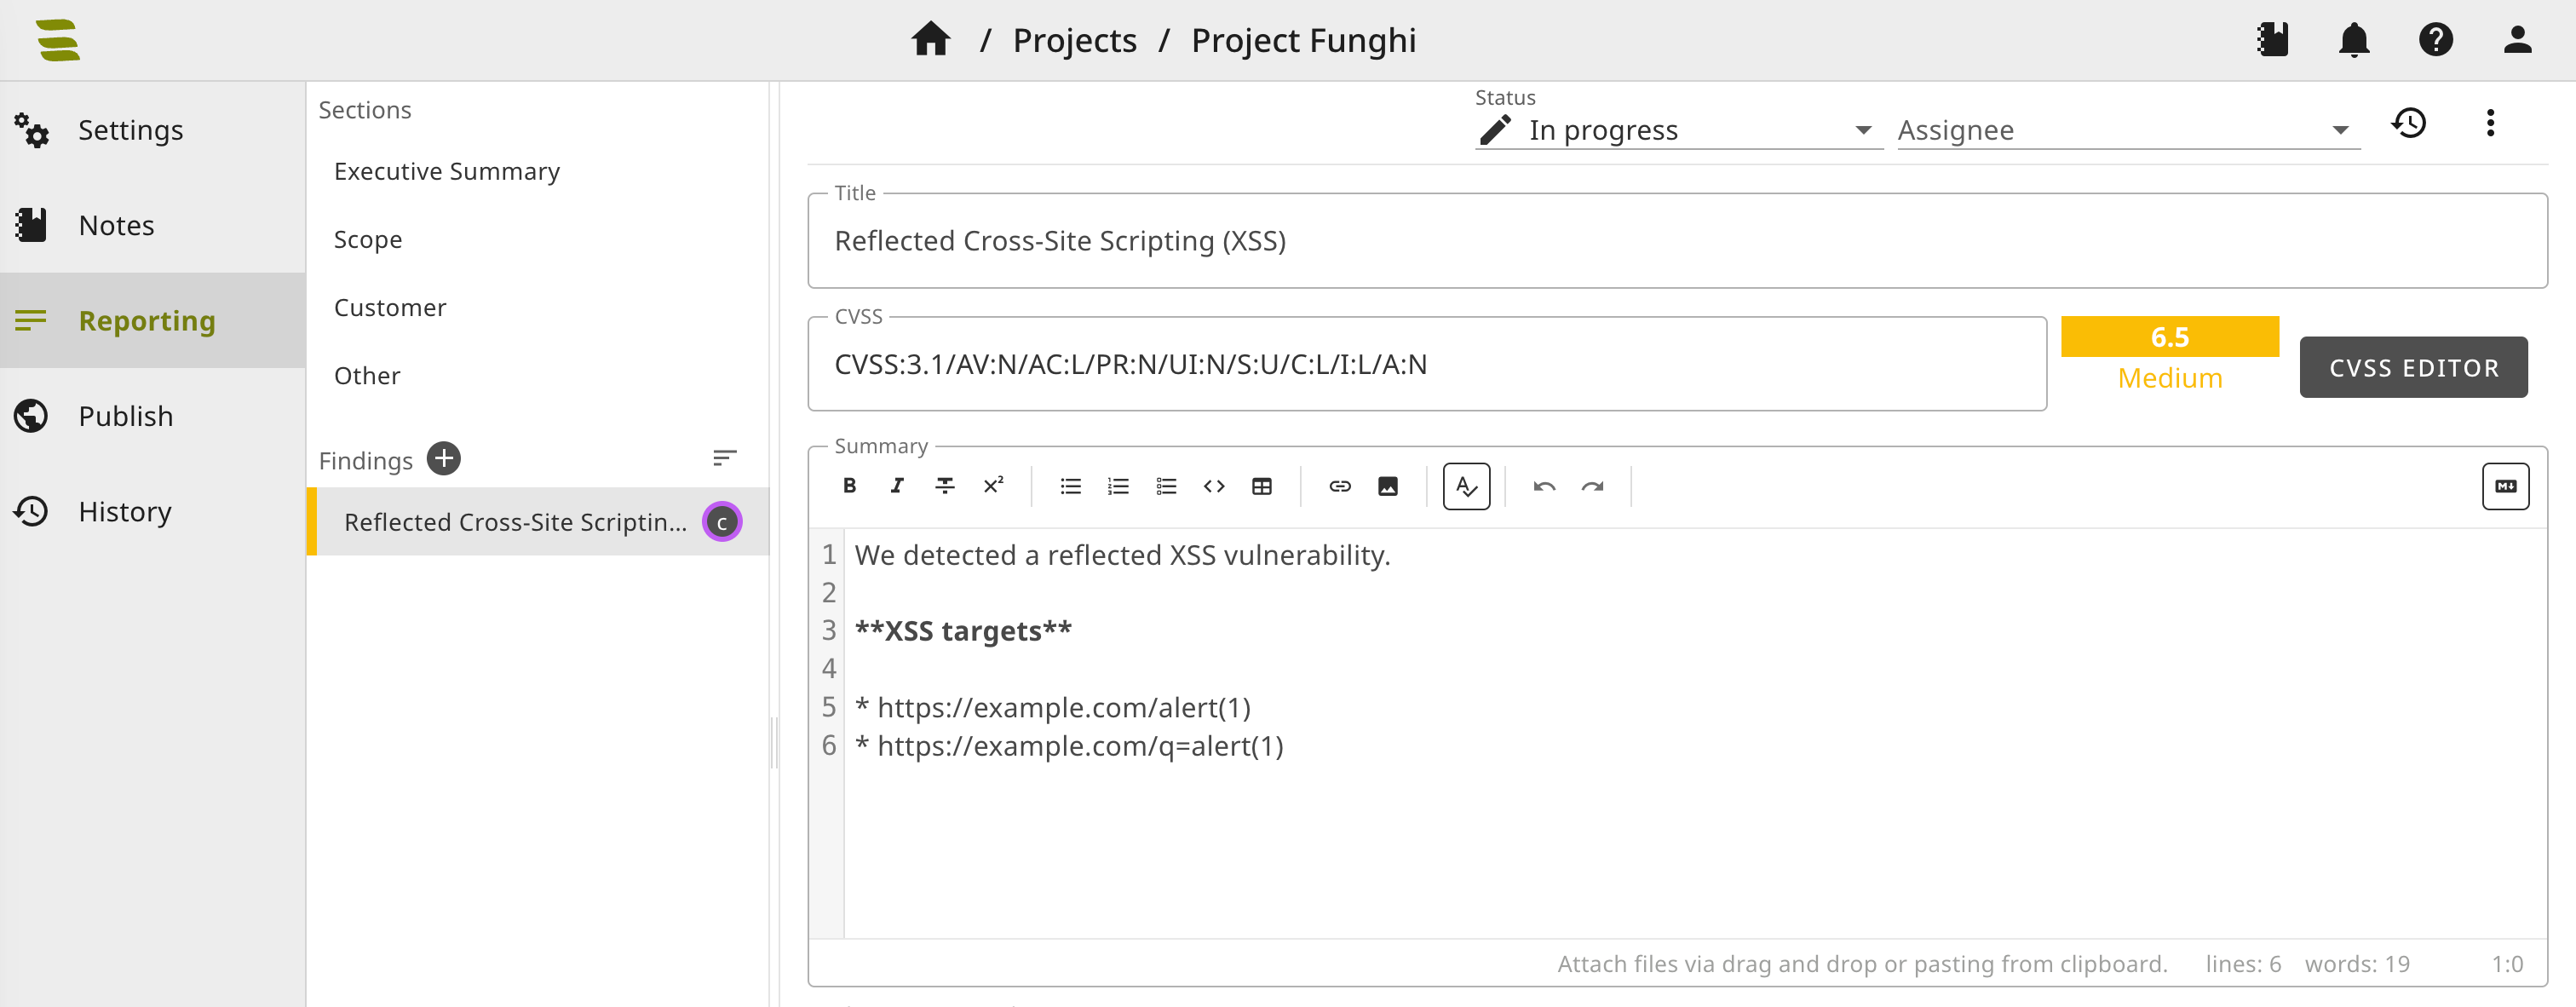
Note that no affected components were added to the finding. We can add the field affected_components as a list to the dictionary returned by our finding_xss method to be filled out:
1 2 3 4 5 6 | |
If you now push the finding again, it will not work because a finding with the same title already exists.
Delete or rename the first finding, push again and the affected components will also be present in your finding.
Create findings from SysReptor templates
We just created a finding from a TOML file.
However, if you maintain your finding templates in SysReptor, you might want to create your findings from your centrally managed library.
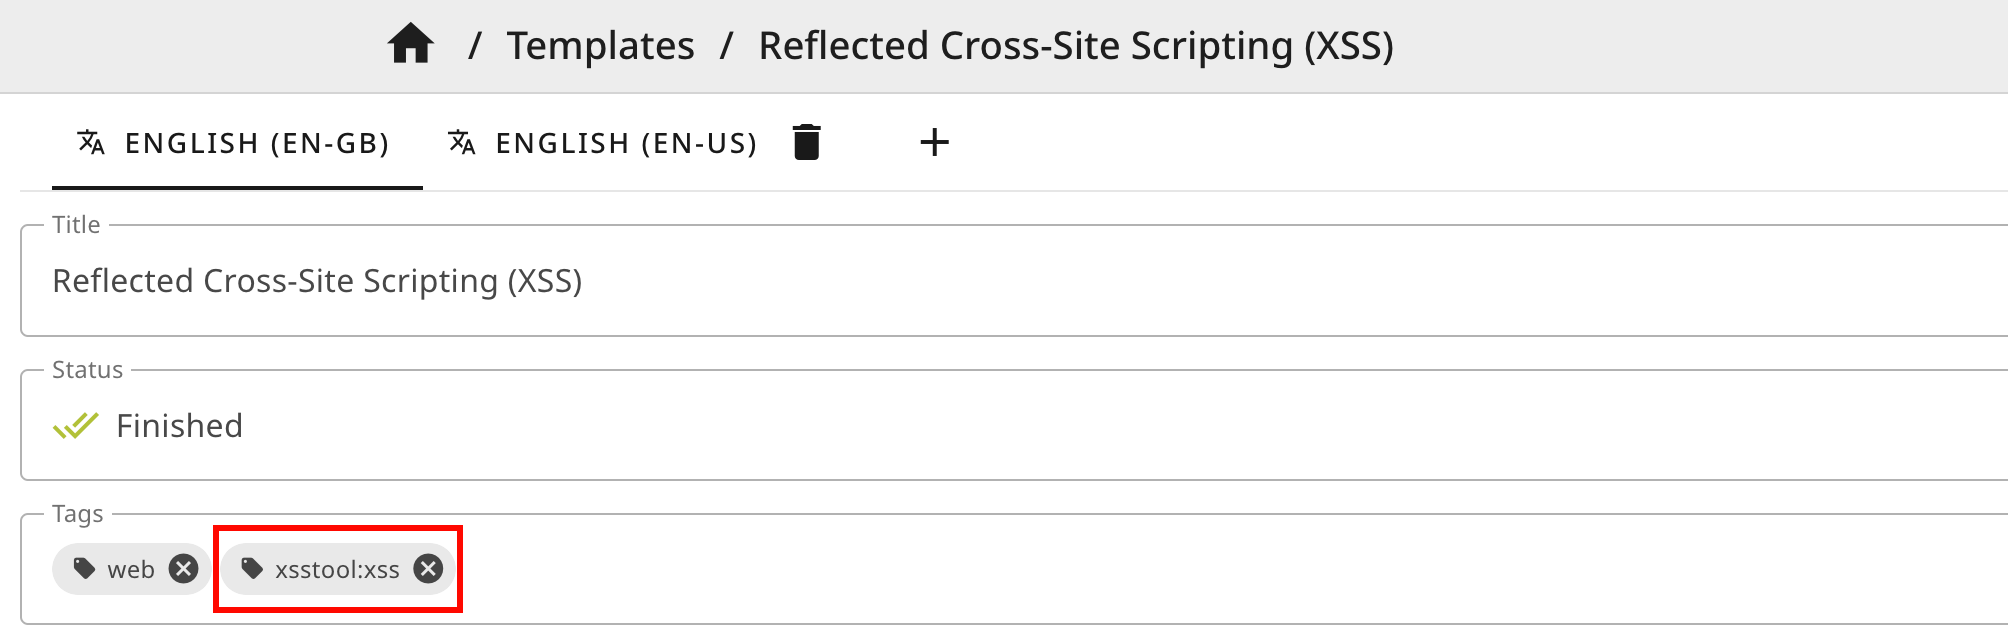
That's easier done than said: Add a tag to your finding template in the format <plugin name>:<finding name>. In our case this is xsstool:xss.
We can use the string and markdown fields to insert our Django templates:
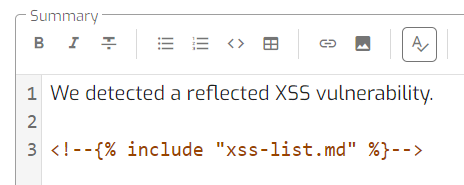
The Django templates are now HTML comments. If you manually use your finding templates, the Django templates will not be rendered into your report. This is the reason the modified the Django tags.
Templates from the SysReptor template library are preferred over TOML-templates.
You can now generate your finding from your template library:
1 2 | |
The finding was created successfully. You see from the "T" at the top that the finding was created from a template.
If you now re-run the command, reptor will refuse to push the finding again. This is because the report holds a finding that was created from the same finding template.
Source Code
Download the full source code of this plugin.